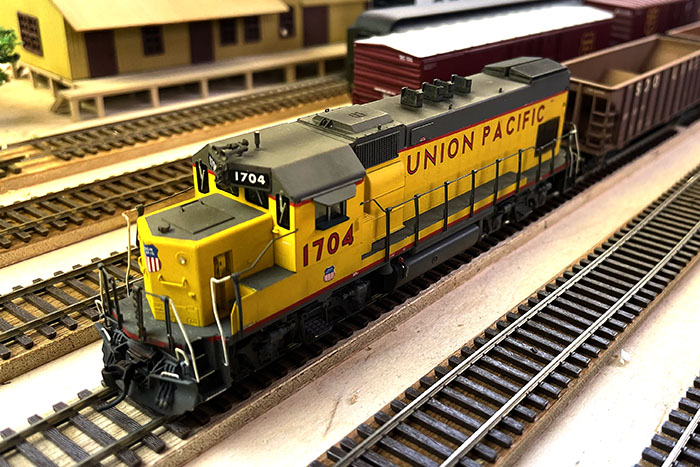
UP GP15 #1704 5/16/2022
Installation of ESU LOK Sound DCC, lights and sound.
This loco has a headlight on each end with attached resistors.
The speakers will be placed between the side screens and the top screen. One 8-ohm Ice Cube speaker on each side wired in parallel to present 4-ohms to the decoder.
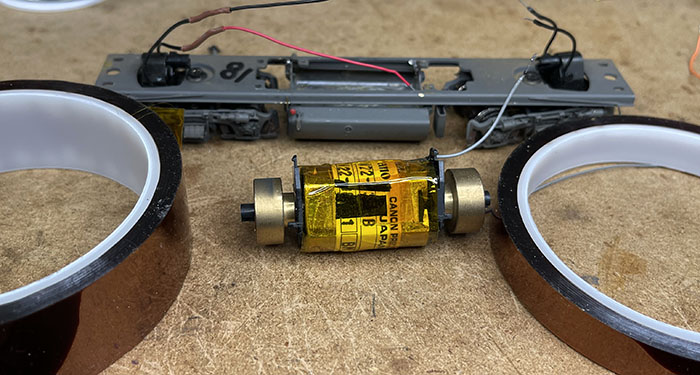
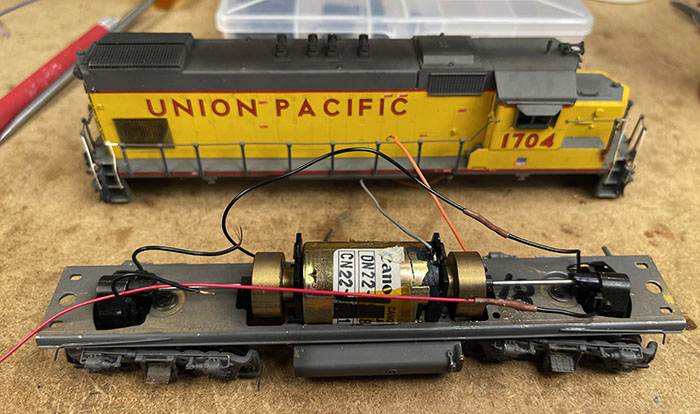 Here is the locomotive as received with the motor installed. There are Red and Black wires attached to the correct trucks as well as orange and gray wires to the motor. The ends of the motor mount have plastic tabs that will hold the support deck for the decoder.
*****************************************************************
This is where issues started to turn up.
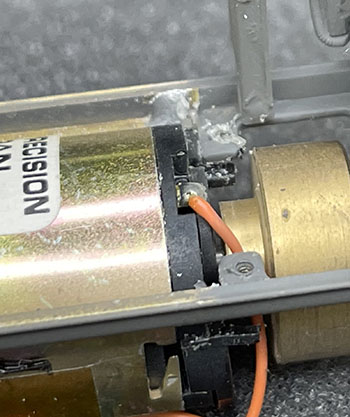
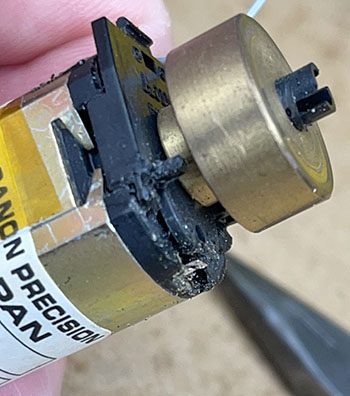
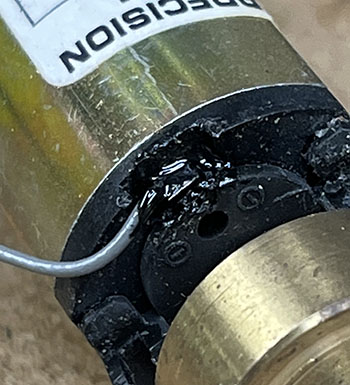
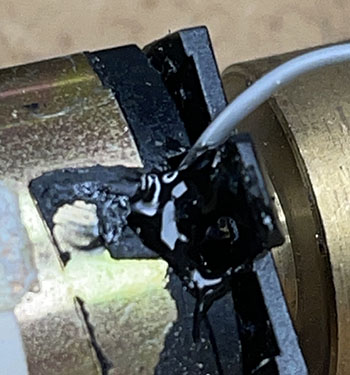
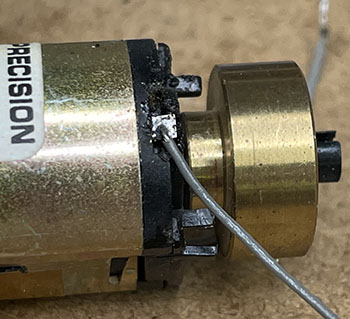
At some time, the brass fuel tank had come off the frame and was reinstalled with a normal soldering iron, not a resistive soldering tool. This melted the mount and part of the motor mount. In addition, the orange wire soldered to the motor used a large amount of solder making it a large conducting surface which could contact the brass edge of the fuel tank.
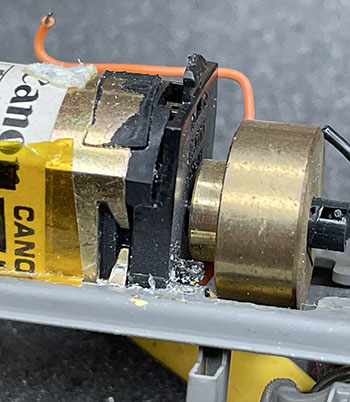
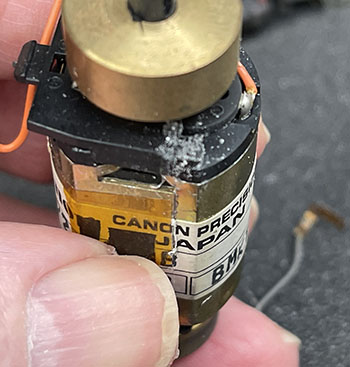 The Gray wire connection to the motor, seen in the lower right of the righthand photo, had come loose and is missing from the left photo.
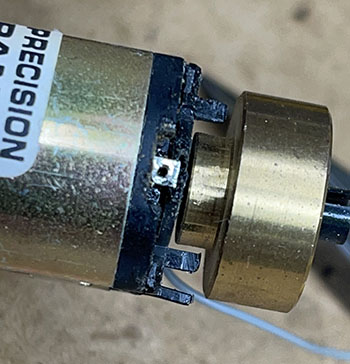
I was able to clean off the lower connection along with old wires that were inside the solder connection and reconnect a wire to the motor. (Left below)
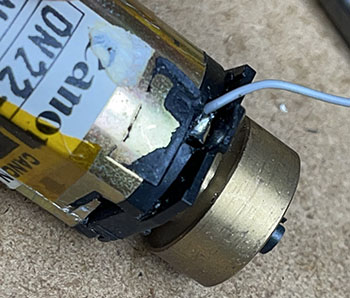
I also was able to loop a wire thru a connection inside the motor on top to make the other connection. (Right above)
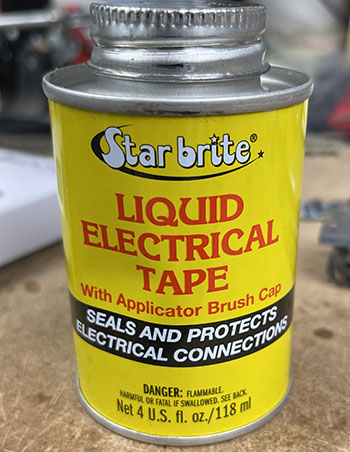
At this point I insulated each connection with liquid electrical tape using a small brush.
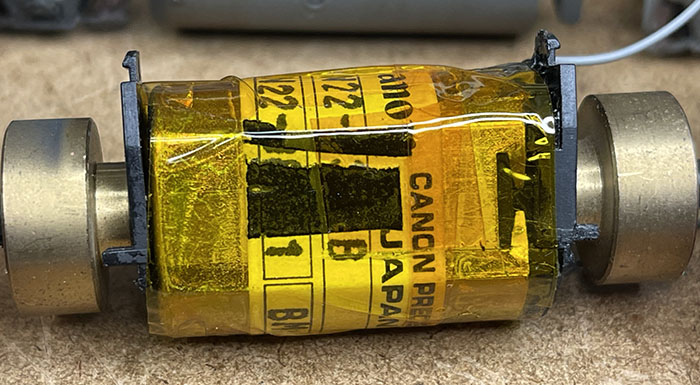
To insulate the case of the motor from the brass frame of the locomotive I used a thin insulation tape.
At this point I was sure that the motor and its connections would not come in contact with the frame of the locomotive.
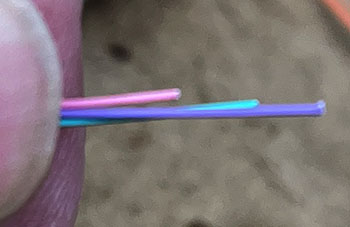
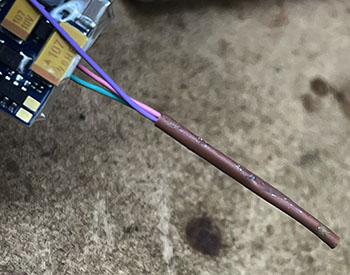
The decoder had 3 aux function wires that were not needed at this time but I chose to keep them by cutting them at slightly different lengths and covering them with heat shrink tubing.
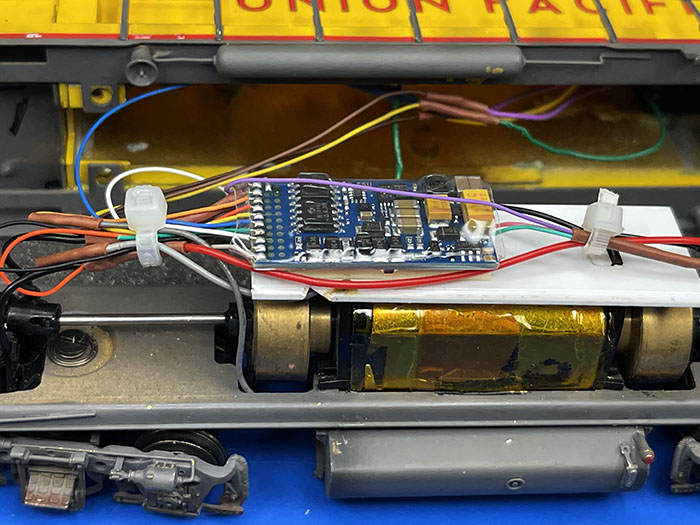
I installed a support for the decoder above the Cannon motor with Evergreen Plastic.
It turned out that the DC wiring of the locomotive had common ground for the LED headlights and so I had to attach the assorted color wires to the blue, positive common connection, and the green wires to the White, for the forward headlight, and the Yellow, for the rear headlight. All the wires required soldering and covered with heat shrink tubing. With all the wires connected via insulated solder joints the decoder could have connections changed if needed. An additional issue caused by the construction of the brass shell. Wires used for detail parts left unclipped inside the locomotive provided a path from the isolated brass body to any parts not insulated. In the case of this locomotive the speakers were touching the rear grab irons inside the body and would provide a path of rail power to the decoder if the locomotive were to derail and the snowplow touch one rail.
After finishing installation, programming, via the ESU Programmer with sound and function files loaded the decoder. With all the programming evaluated on the ESU programmer track the locomotive was ready to be assembled and put on the main, setting up the back EMF according to the ESU instructions and tested under load.
Return to the Locomotive Workshop (Click Here)
Work Shop Home (Click Here)
Join us in the “Greatest Hobby” as a member of the TLMRC.
Site home (Click Here)


